 Starting a Facebook page ain't easy.
In fact, it can be a huge pain in the rump!
Our goal at Post Planner is to relieve as much of that pain as possible.
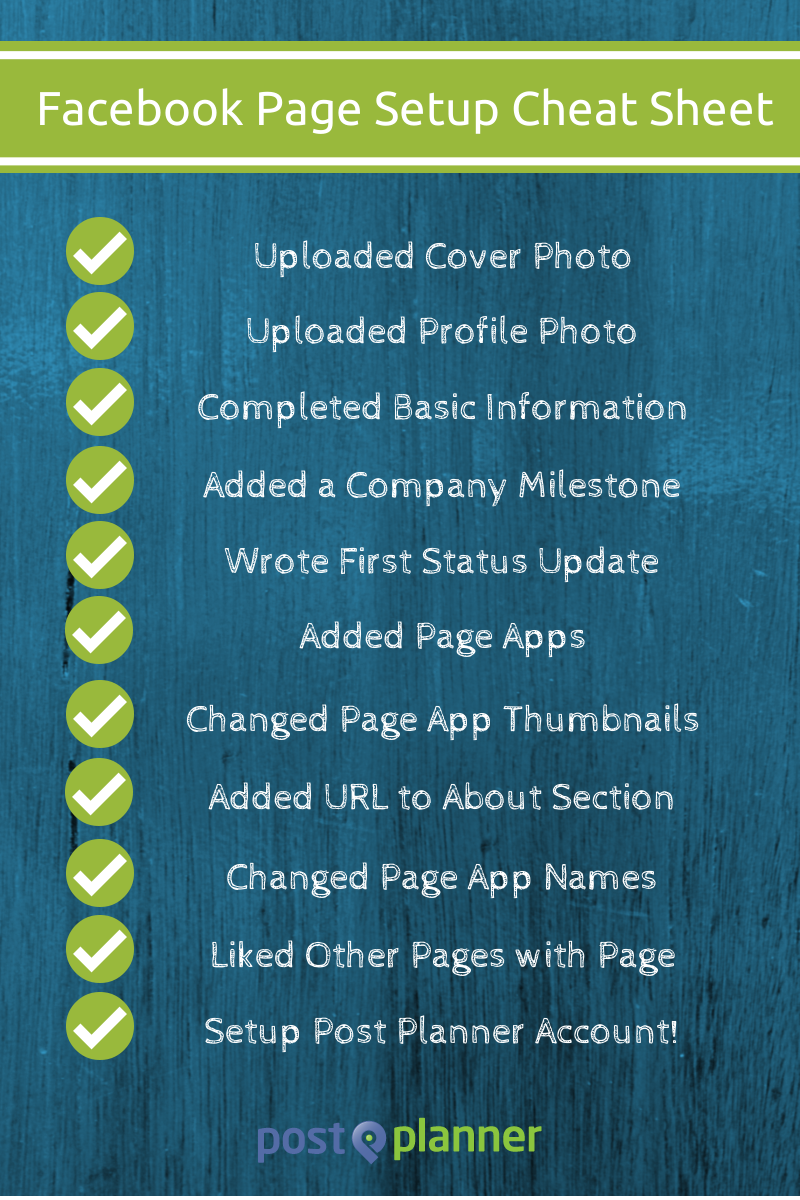
So today I'll help jump start your NEW Facebook page by providing a cheat sheet with a checklist that every page manager should follow.
Here you go:
The Ultimate Cheat Sheet for Jump-Starting a New Facebook Page
✓ Uploaded Cover Photo
You need a cover photo that stands out & helps brand your page. The cover photo is the first thing people see when they visit your page.
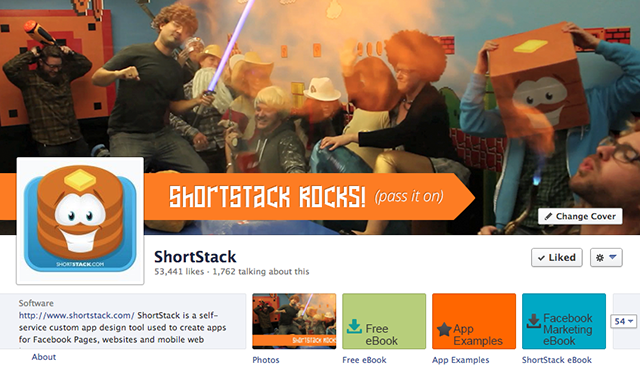
Check out ShortStack's page for inspiration.
Those dudes are always rockin' a killer cover pic:
Facebook relaxed the rules for cover photos & now you can pretty much use whatever you want.
These are the only guidelines:
All covers are public. This means that anyone who visits your Page will be able to see your cover. Covers can't be deceptive, misleading, or infringe on anyone else's copyright. You may not encourage people to upload your cover to their personal timelines.
That's it! There are no restrictions on advertising promotions, using calls-to-action, or anything else.
Follow my 3 point checklist for a great cover photo:
- High Quality
- Representative of Your Brand
- Current
These posts show some amazing examples:
✓ Uploaded Profile Photo
 Your profile pic appears in:
- News feed of followers
- Posts on your Timeline
- Your replies to comments
- Comments & updates you post while using your page
- Cover image on your page
The most important is #1 — the news feed of your followers. You should design your profile pic to look great in that location.
This post explains why:
✓ Completed Basic Information
Your Page Settings allow you to add tons of info about your business to Facebook.
A section of this page will even appear on your Timeline. Just fill out the "Short Description" field & you're good to go.
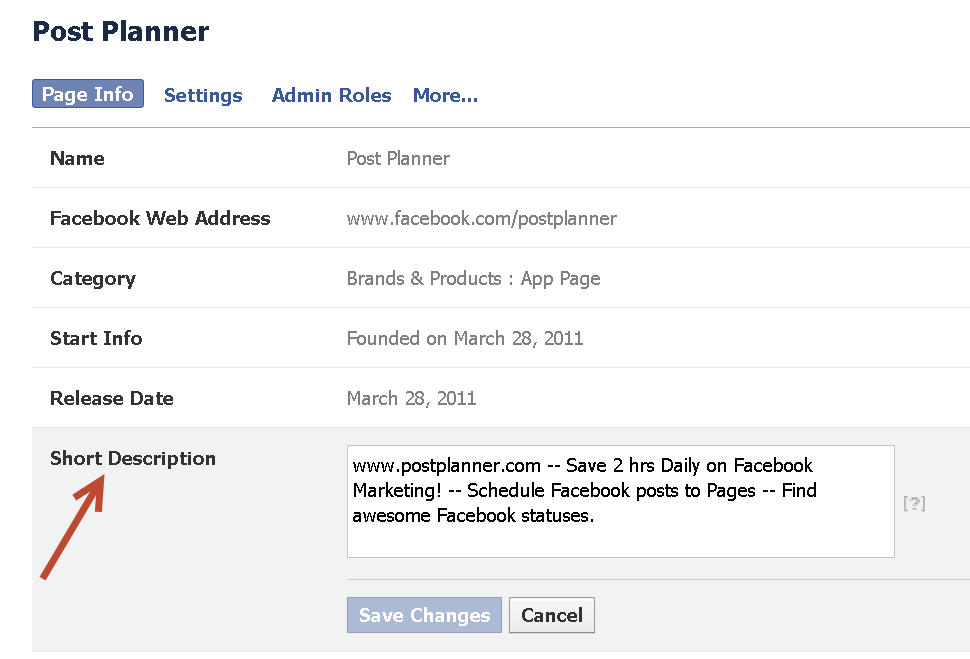
Keep this in mind when writing the description:
- Brevity (no more than 100 characters in length)
- Don't stuff the intro with keywords
✓ Added a Company Milestone
 Use Facebook Milestones to celebrate your company's achievements — both large & small.
Milestones help you build relationships with fans by sharing your journey & providing insight into your business.
Milestones offer great ways to showcase the history of your brand because they're displayed so prominently on your Timeline.
Here are some ways to use Facebook Milestones to showcase your business:
- Highlight the day your company opened
- Highlight the moment your Facebook page reached 10,000 fans
- Highlight the launch of new products or services
- Highlight key moments in history – how & where your business started
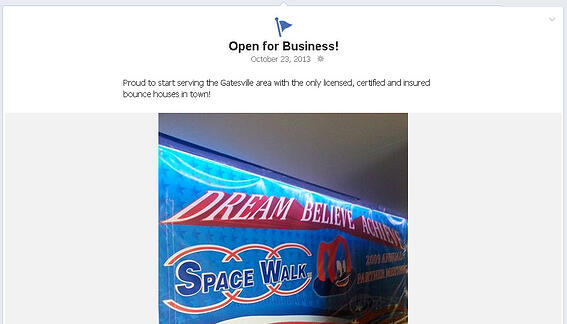
To add a Milestone above your Facebook status bar:
- Select “Offer, Event”
- Click Milestone
- Add a headline, location & details of your Milestone
- Choose to add a photo
- Click Save
Milestone photos display at 843 x 403 pixels -- but you can use any size you want:
✓ Wrote First Status Update
 Write at least one status update before inviting people to Like your page.
I sometimes post 6 or 7 updates before inviting anyone to the page, so visitors have an idea of what type of content I'll be sharing.
✓ Added Page Apps
Some claim apps on Facebook are useless since the apps aren't visible when using Facebook Mobile.
 But tab apps on Timelines are used for:
- Newsletter Signups
- Contests
- Driving Traffic to a Blog
- YouTube
- Galleries
- Portfolios
- and much more
All Facebook pages need at least one tab app that gathers emails from fans.
Hosting contests is one of the most popular ways to use apps. Fans are compelled to enter their emails in exchange for a chance to win a prize.
There are lots of app providers, and most offer free plans with easy-to-use templates that make the apps simple to install. Here are some app developers I recommend:
✓ Changed Page App Thumbnails
Once you’ve installed some apps on your page, change the app thumbnail images on your Timeline to make them consistent with your branding.
Some apps provide a default thumbnail image. Most, however, leave this generic thumbnail image on your page:
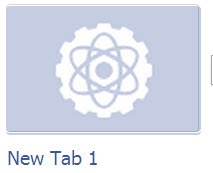
Read this step-by-step guide for changing this hideous thing:
✓ Added URL to About Section
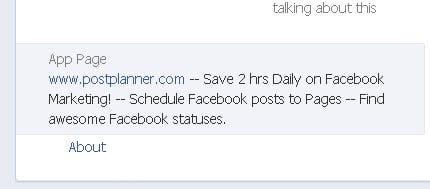
Putting a URL in the About section on your Timeline is an easy way to drive more traffic to your website.
Adding this link to your page is critical since it's shown on computers & mobile devices.
Add the URL to the Short Description in your About section. Insert the URL near the beginning of the description so the link is one of the first things people notice on your page.
✓ Changed Page App Names
Now that you've added some great apps to your page & designed custom thumbnail images, it's time to change the names of the apps to make them more appealing to Facebook users.
Use a catchy name that will compel people to click the app.
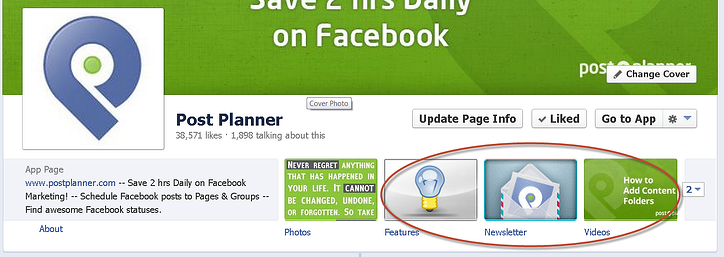
Use a call-to-action if you can:
- Click for Prizes
- Check It Out!
- Free Gift!
- Go Here!
✓ Liked Other Pages with Page
 Most page managers skip this step, but Liking other pages is an easy way to get more Likes on your page & build brand awareness on Facebook.
Here's what happens when you use your business page to Like other pages on Facebook:
- Your page will feature the pages you Like
- Your fans will see that you Liked the page in their news feed
- Your page will have its own news feed
Wait... what?!
I bet you didn't know that your page can have its own unique news feed.
The news feed for your page includes the pages you have Liked, and you can comment on these posts as your page -- not your personal profile.
To start the news feed, click the gear icon in the blue Facebook navigation bar:
![]()
You'll see a drop-down menu with the words "Use Facebook As:", along with a list of the pages you manage:
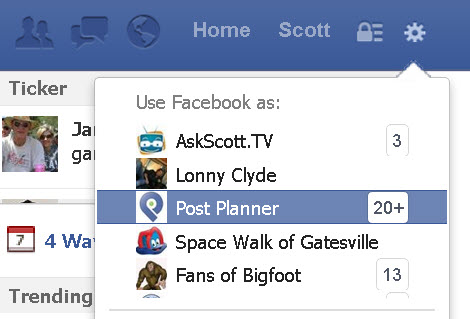
Select a page, and anything you do on Facebook you'll do as that page. You can LIKE other pages, comment on posts, share updates, etc.
But there are some things your page can't do:
- Send friend requests
- Send private messages (unless someone sends the page a message first)
- Like or comment on blog posts
- Share content on your personal profile, in groups or on other Facebook pages.
✓ Set Up Post Planner Account
 Setting up your FREE Post Planner account is the last item on my ultimate new Facebook page cheat sheet.
Post Planner helps you schedule updates & find content to post on your page.
Go here to install Post Planner for free:
> IMPORTANT: click "Okay" on ALL permissions
> IMPORTANT: make sure "Public" is selected for visibility of posts
Our new user guide provides awesome tutorials for every Post Planner feature -- and you receive badges as you complete each level.
✓ Save & Share this Cheat Sheet
This cheat sheet will help you get every Facebook page you create up & running in no time.
Bookmark this post, pin the image, and share it with your readers on your blog.


ViewHide comment (1)